Bottle Cap Matching Game + Freebie
/From my previous posts, you probably can tell that I am not a fan of worksheets. I believe that young children learn best by doing and not by holding a pencil and filling out busy work. That said, there are skills that you will want to reinforce or begin working on with your children. Today, I wanted to share a quick, easy and CHEAP little learning game with you that is alternative to those dreaded worksheets. This game is great because it can be adapted for kids of all ages - from 2 years old and up - and can even be used for some homework, like addition facts, spelling words, ec.
I’m also providing you with 2 options - one is super simple, so if you aren’t interested in constructing anything, scroll on down to the second option.
OPTION #1
Here’s what you need:
2 9”x12” pieces of corrugated cardboard (mine is from an old mailing box), 2 strips of cardboard 1/2” wide (I cut a piece in half), water bottle tops, scissors, marker, pencil and glue & tape (which are not pictured)
OPTIONAL: Free Pattern Download (click here)
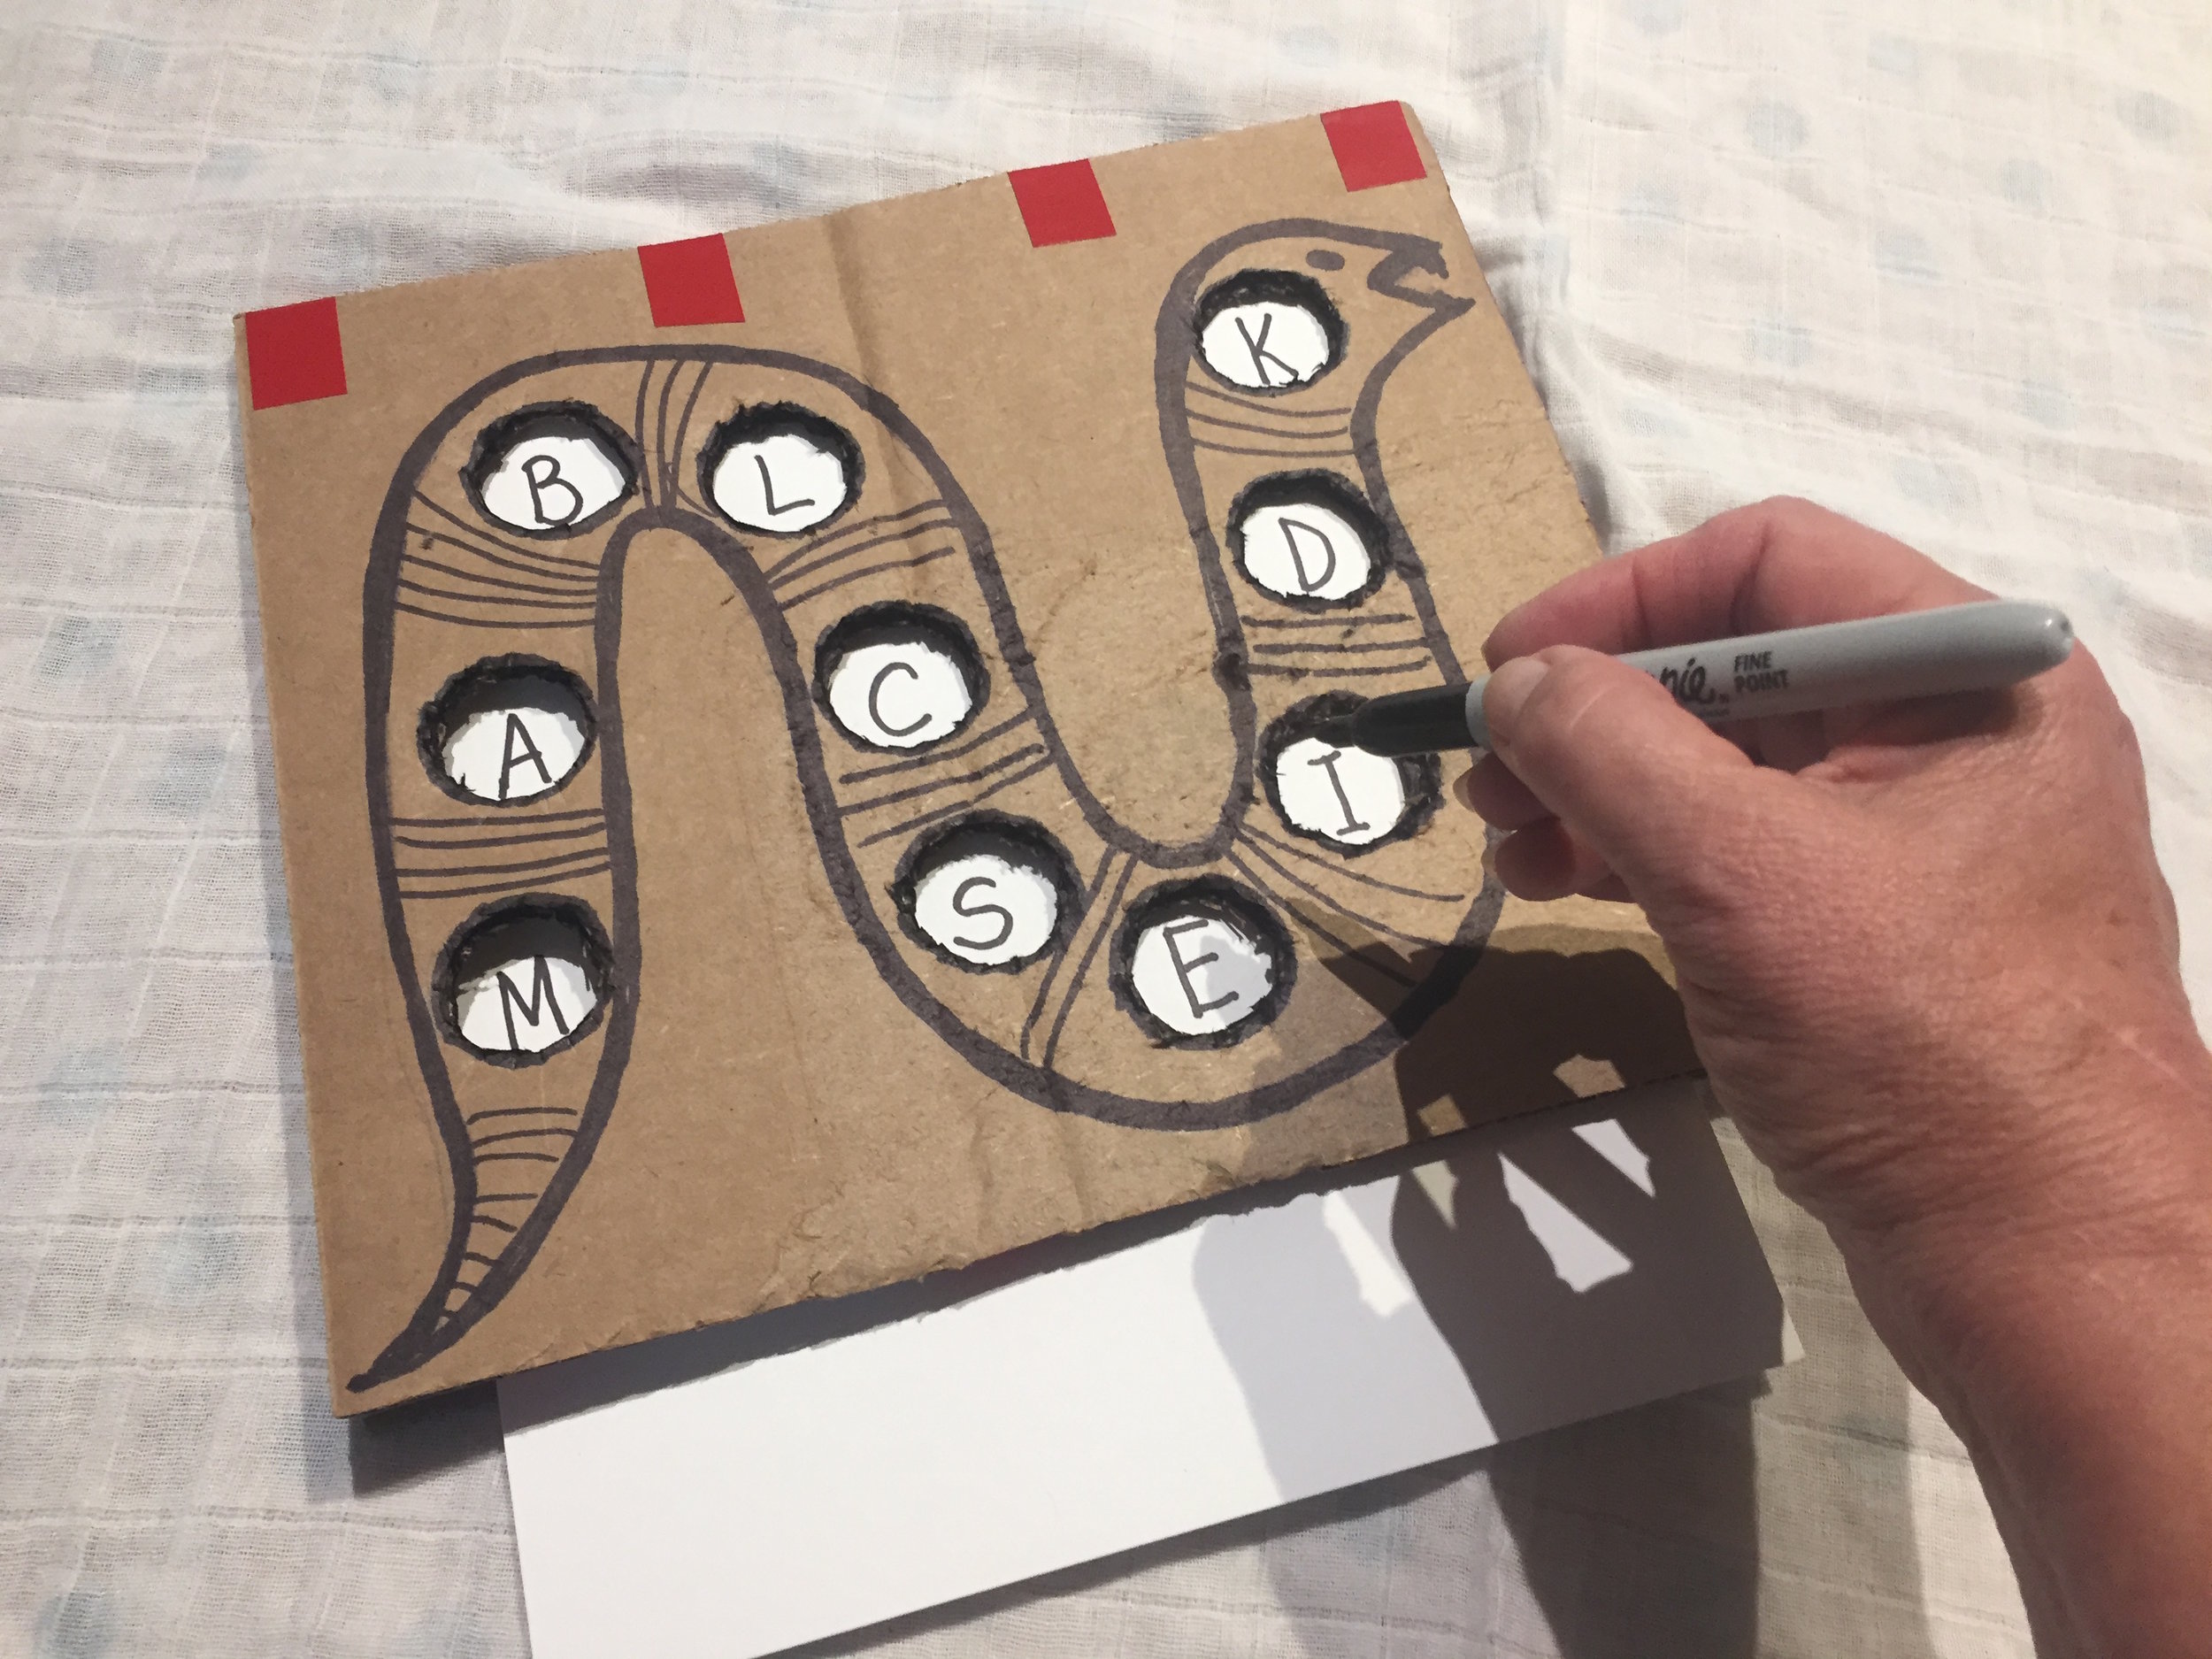
1. After deciding what kind of picture you are going to use, arrange the bottle caps on the shape and trace around them onto one piece of the cardboard. (I decided on a snake for this one) If you would prefer, print out the free printables and glue one on the cardboard instead of creating your own drawing.
2. Outline your shape in marker and trace around the bottle caps in pencil.
3. Cut out the circles where the bottle caps will fit. (This is the hardest part of the whole thing. Mine were pretty jagged, etc., but still work just fine.)
4. Be sure the caps fit inside the holes.
5. I also outlined each hole since it seemed to help my cutouts look less jagged.
6. Glue the 2 strips to each side of the other sheet of cardboard. (This will form a slot that will allow you to easily slide the paper pieces in and out to change games.)
7. Stack the 2 pieces of cardboard on top of each other and secure with tape. If you want to be able to open the top, you can just secure it at the top, creating a hinge.
8. Slide a piece of blank paper into the slot. In each hole, write a letter or numeral, etc.
9. Use your marker to write the corresponding letters, numbers, shapes, etc on the bottle caps.
You can create new games simply by programming new sheets of paper with a different activity. Suggestions:
capital letters to capital letters
capital letters to lower-case letters
numerals to numerals
numerals to dots
matching shapes
matching colors
numerals to addition or subtraction problems
matching the letters of names
blank paper with letters on the bottle caps to practice spelling words
OPTION #2
You will need: bottle caps, marker, patterns
1. Print out the provided patterns.
2. Program them by writing the letters, numerals, shapes, etc. that you want to use.
3. Instead of cutting holes, just let your child place the bottle cap on top of the matching circle.
Here is a variation of this same game made with smaller holes and used to match colored pom-poms. (You can see that someone even helped me color it!)


